Biscuit Cream Cheese Cake Recipe
- Time: Active 20 minutes, Passive 6 hours, Total 6 hours 20 mins
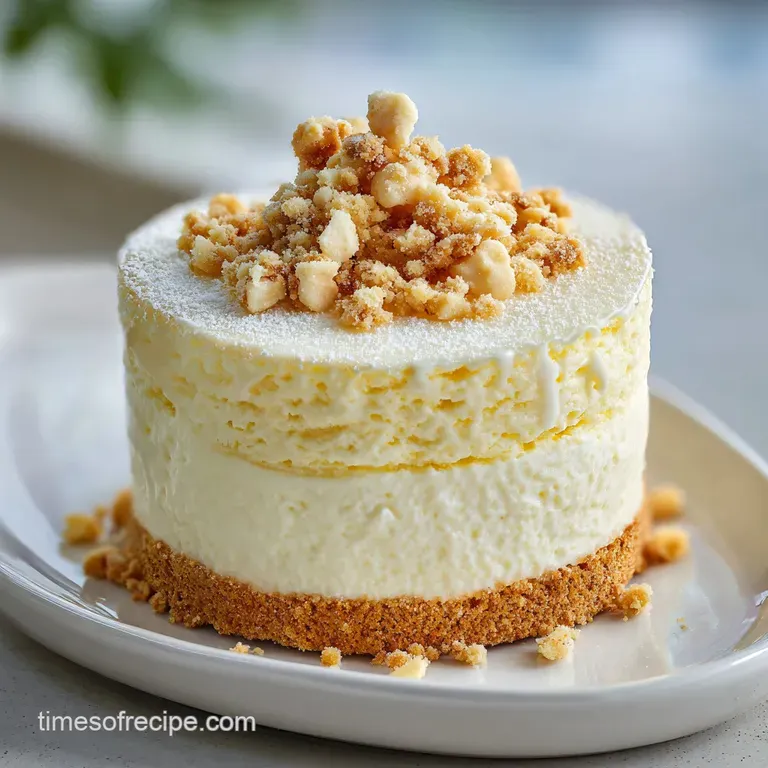
- Flavor/Texture Hook: Shattering buttery crust paired with velvety, citrus bright filling
- Perfect for: Elegant dinner parties, summer gatherings, or a stress free weekend treat
- Mastering the Perfect Biscuit Cream Cheese Cake
- The Science of Velvet Textures
- Vital Ingredients for Successful Results
- Crucial Tools for Seamless Baking
- The Path to Stunning Slices
- Solving Common Textural Issues
- Creative Ways to Customize Flavor
- Storing Your Dessert Properly
- Presentation Tips for Elegant Serving
- Myths Regarding No Bake Desserts
- Frequently Asked Questions
- Recipe FAQs
- 📝 Recipe Card
Mastering the Perfect Biscuit Cream Cheese Cake
I still remember the first time I tried to make a traditional cheesecake for my best friend’s birthday. I spent three hours fussing over a leaky water bath, only to end up with a soggy crust and a center that looked more like scrambled eggs than a dessert. It was heartbreaking.
I stood in my kitchen, looking at the mess, and realized there had to be a way to get that same silky, decadent experience without the stress of an oven. That is when I started experimenting with this specific no bake method, and honestly, I have never looked back.
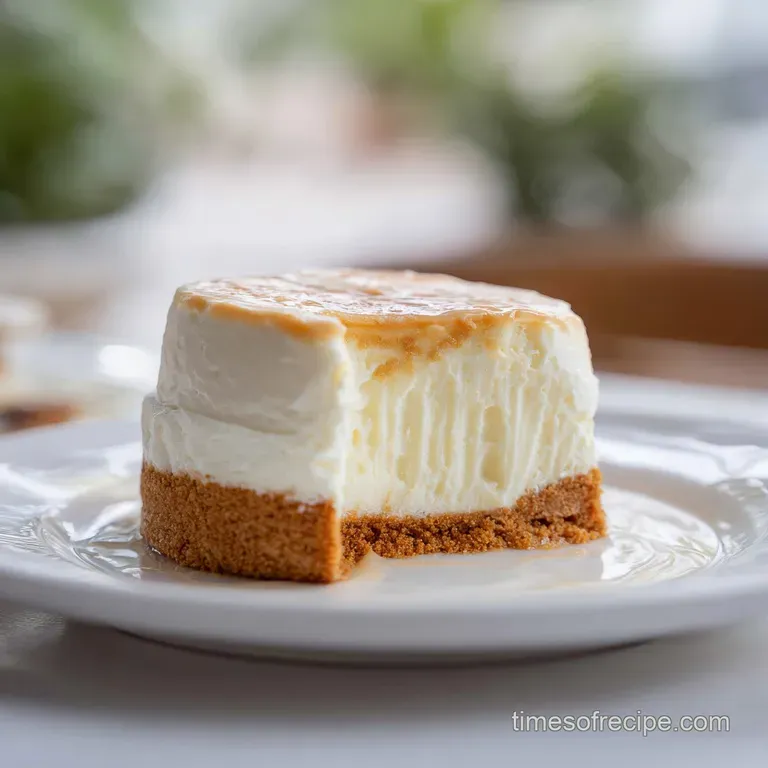
The magic happens when you hear that first "crunch" as the knife glides through the buttery biscuit base, followed by the silent "whoosh" of the blade entering the cream. It is a sensory experience that feels like pure luxury, yet it is simple enough to whip up on a Tuesday night.
We are going for a texture that is not just "stiff," but one that feels like a velvety hug for your palate. This Biscuit Cream Cheese Cake relies on the beautiful interaction between high fat cream and acidic lemon to create a structural masterpiece that stays firm without a single sheet of gelatin.
We are going to focus on getting that base perfectly compressed and that filling whipped to the point of airy stability. You will not need to worry about cracks or sinking middles here. It is all about the cold set and the quality of your ingredients.
By the time we are done, you will have a dessert that looks like it came from a high end patisserie but feels like a cozy, homemade triumph.
The Science of Velvet Textures
The secret to a successful set in this recipe is not heat, but a fascinating process called acid induced protein denaturation. When you fold fresh lemon juice into the mixture of cream cheese and sweetened condensed milk, the acid begins to tighten the protein structures.
This creates a thick, stable matrix that holds its shape beautifully once chilled. It is essentially "cooking" the proteins through pH levels rather than temperature, which preserves the bright, fresh flavor of the dairy.
Emulsification Stability: Beating the cream cheese first breaks down fat globules, allowing them to bond with the sugar in the condensed milk for a grain free finish.
Fat Saturation: Using heavy cream with at least 35% fat ensures that air bubbles are trapped effectively, providing the necessary lift and "melt in-your mouth" feel.
Starch Compression: The melted butter acts as a liquid mortar, filling the microscopic gaps between biscuit crumbs to create a base that shatters rather than crumbles.
Base Preparation Comparison
| Method | Time | Texture | Best For |
|---|---|---|---|
| Chilled Base | 30 minutes | Sandy, tender, buttery | Quick assembly and pure no bake ease |
| Baked Base (180°C) | 10 minutes | Crisp, toasted, firm | Maximum structural integrity for heavy toppings |
| Frozen Base | 15 minutes | Hard, dense, cold | Serving in over high heat summer environments |
Whether you choose to bake the base or keep it strictly no bake, the key is the ratio of fat to crumb. A base that is too dry will fall apart the moment you try to lift a slice, while one that is too greasy will feel heavy on the tongue.
I prefer the chilled method for this Biscuit Cream Cheese Cake because it maintains a delicate, melt away quality that mirrors the filling.
Vital Ingredients for Successful Results
| Ingredient | Science Role | Pro Secret |
|---|---|---|
| Cream Cheese | Provides the structural lactic acid and fat base | Always use full fat blocks, never the spreadable tub versions |
| Condensed Milk | Acts as both the sweetener and a thickening agent | Chill the tin for 20 minutes before opening for better aeration |
| Lemon Juice | Triggers the protein set and balances the sugar | Use freshly squeezed only, as bottled juice lacks the necessary acidity |
| Heavy Cream | Incorporates air for a mousse like lightness | Whisk in a metal bowl that has been kept in the freezer |
To ensure your dessert is as elegant as possible, focus on the temperature of your components. The cream cheese must be soft enough to blend without leaving tiny white pearls of unmixed fat, while the heavy cream must be ice cold to reach its maximum volume. Similar to the logic used in our Banana Pudding Cheesecake recipe, maintaining these temperature contrasts is the difference between a "good" dessert and a "stunning" one.
Crucial Tools for Seamless Baking
Having the right gear makes the process feel like a breeze rather than a chore. You will want a 23cm springform pan, which is non negotiable for a clean release. If you try to use a standard cake tin, you will be digging your slices out with a spoon, and while it will still taste incredible, we are aiming for that professional, sharp edged look.
A flat bottomed glass or a measuring cup is also a life saver for pressing the biscuit base into a perfectly even layer.
Chef's Tip: Wrap the base of your springform pan in plastic wrap before snapping the ring on. This creates a "gasket" that prevents any butter from leaking out and makes it much easier to slide the cake onto a serving platter later.
An electric hand mixer or a stand mixer is essential here. Doing this by hand is a workout you probably do not want, and it is nearly impossible to get the cream cheese truly smooth without mechanical help.
Also, grab a fine mesh sieve if you are squeezing fresh lemons, as a single stray seed can ruin the velvety experience of a bite.
The Path to Stunning Slices
1. The Foundation Phase
Pulse the 250g of biscuits in a food processor until they resemble fine sand. Mix in the 115g of melted butter and 1/4 tsp of sea salt. Note: The salt is vital for cutting through the richness.
Press this mixture firmly into the bottom of your pan using the flat bottom of a glass until it is compacted and level.
2. The Cream Emulsion
In a large bowl, beat the 500g of room temperature cream cheese for 3 minutes. Note: Do this until it looks like thick frosting and no lumps remain. Slowly pour in the 397g of sweetened condensed milk while the mixer is on a low setting to ensure a seamless integration.
3. Achieving Superior Silkiness
Add the 1 tbsp of vanilla bean paste and 60ml of fresh lemon juice to the cheese mixture. Beat on medium speed for another 2 minutes. You will notice the mixture starting to thicken almost instantly as the lemon juice reacts with the dairy.
4. The Cream Lift
In a separate chilled bowl, whisk the 240ml of heavy whipping cream. Note: Stop as soon as you reach stiff peaks. If you go too far, the cream will turn grainy and eventually become butter, which will ruin the silkiness of the cake.
5. The Gentle Fold
Using a large rubber spatula, fold one third of the whipped cream into the cream cheese mixture to lighten it. Then, gently fold in the remaining cream. Note: Use a "cut and fold" motion to avoid deflating the air you just worked so hard to incorporate.
6. The Cold Cure
Pour the filling over the prepared biscuit base and smooth the top with an offset spatula. Cover the pan loosely with foil or plastic wrap. Place it in the coldest part of your fridge for at least 6 hours.
Note: Overnight is even better for the flavors to meld and the structure to fully stabilize.
7. The Final Release
Before serving, run a thin knife or a small spatula around the inside edge of the ring. Note: Dip the knife in hot water and wipe it dry between strokes for the cleanest edge possible. Slowly unlatch the springform ring and lift it away to reveal your masterpiece.
Solving Common Textural Issues
Why Your Center is Runny
A runny center usually happens if the cream cheese was too warm or if the lemon juice was not acidic enough. If you find your cake is still soft after 6 hours, do not panic. You can pop it into the freezer for 45 minutes to firm it up before slicing.
It will have a texture closer to an icebox cake, but it will still be delicious and hold its shape for serving.
| Problem | Root Cause | Solution |
|---|---|---|
| Lumpy filling | Cream cheese was too cold when mixing | Sieve the mixture or let it sit at room temp then re beat |
| Soggy crust | Butter was too hot or crumbs too coarse | Use cold melted butter and ensure a fine, sandy crumb texture |
| Gritty texture | Over whipped heavy cream | Fold in a tablespoon of unwhipped liquid cream to smooth it out |
Common Mistakes Checklist
- ✓ Avoid using "low-fat" or "light" cream cheese, as they contain more water and will not set.
- ✓ Never use bottled lemon juice, the preservatives can interfere with the protein thickening.
- ✓ Do not over process the biscuits into a paste, you want crumbs, not dust.
- ✓ Ensure the bowl and whisk are bone dry before whipping the heavy cream.
- ✓ Reserving the lemon juice for the very end of the cheese mixing stage ensures the best reaction.
Creative Ways to Customize Flavor
If you want to vary the flavor profile, it is incredibly easy to swap out the base or add a swirl. For a more intense, spiced version, try using the logic from a Biscoff Coffee Cheesecake recipe by using speculoos biscuits for the crust and adding a teaspoon of instant espresso powder to the cream cheese. The bitterness of the coffee pairs beautifully with the sweetness of the condensed milk.
For a Zesty Berry Burst
You can fold 100g of fresh raspberries or blueberries into the filling just before the final chill. The fruit adds a bright acidity that cuts through the cream. Just be sure to pat the berries completely dry after washing, as any excess moisture will create "weeping" spots in the cake where the filling breaks down.
For a gluten-free Option
Simply replace the 250g of biscuits with your favorite gluten-free graham cracker substitute. Because the butter acts as the primary binder, most gluten-free crumbs behave exactly the same way.
You might need to add an extra 10g of melted butter if the gluten-free crumbs are particularly dry, as they tend to absorb more fat.
Storing Your Dessert Properly
This Biscuit Cream Cheese Cake is a dream for meal prepping. It actually tastes better on day two because the moisture from the filling softens the base just enough to make it cohesive without losing that initial "snap." You can keep it in the fridge for up to 4 days, provided it is covered tightly to prevent it from absorbing any "fridge smells" like onions or garlic.
For long term storage, this cake freezes beautifully. Wrap individual slices in parchment paper and then foil. They will stay fresh for up to 2 months. To serve, just let a slice sit on the counter for 15 minutes, it will have a slightly firmer, semi frozen texture that many people actually prefer on a hot day.
To reduce waste, any leftover biscuit crumbs can be toasted and kept in a jar to sprinkle over yogurt or ice cream later in the week.
Presentation Tips for Elegant Serving
When it comes to serving, less is often more. A simple dusting of lemon zest or a few curls of white chocolate can make this look like a professional dessert. If you want to go the extra mile, create a quick fruit coulis by simmering a handful of strawberries with a splash of water and a spoonful of sugar, then straining it over the top just before the cake hits the table.
Pro Slicing Technique
To get those sharp, clean edges you see in photos, use a long, thin knife. Dip the blade into a tall container of very hot water, wipe it clean with a towel, and make one decisive cut. Repeat the dipping and wiping for every single slice.
It sounds fussy, but it ensures that the white filling does not smear onto the dark biscuit base, keeping the contrast beautiful.
Flavor Map Pairings
- Sweet: A drizzle of salted caramel balances the lemon tang.
- Tart: Fresh passionfruit pulp poured over the top adds a tropical crunch.
- Rich: A dollop of extra whipped cream with a pinch of cinnamon.
- Crisp: Toasted almond slivers provide a nutty secondary crunch.
Myths Regarding No Bake Desserts
Many people believe that no bake cakes are "cheating" or that they lack the depth of baked versions. The truth is that no bake methods allow the pure flavor of the dairy to shine without being muted by the Maillard reaction of baking. You get a much brighter, cleaner citrus note.
Another common myth is that you need gelatin for a firm set. As we discussed in the science section, the interaction between lemon juice and condensed milk provides all the structural integrity you need, resulting in a much creamier mouthfeel than the "rubbery" set sometimes caused by gelatin.
Frequently Asked Questions
Can I use granulated sugar instead of condensed milk? No, the condensed milk provides a specific viscosity and protein content that is essential for the set. If you use sugar, the cake will remain a liquid mess because the chemical reaction with the lemon juice will not be strong enough to hold the weight of the cream cheese and heavy cream.
My base is falling apart, what happened? This usually means the biscuit crumbs were too large or there was not enough butter to bind them. Make sure your biscuits are processed into a fine sand like texture.
If you find the mixture is too dry when you are pressing it into the pan, add an extra tablespoon of melted butter until it feels like wet sand.
Is it possible to make this dairy-free? While there are vegan cream cheeses and condensed coconut milks available, the protein structures are very different. You would likely need to add a thickening agent like agar agar or coconut oil to achieve a similar set, as the acid thickening trick does not work as effectively on plant based proteins.
How do I prevent the top from sticking to the cover? If you are using plastic wrap, lightly grease the underside with a tiny bit of neutral oil, or better yet, use a springform pan with a tall dome lid.
If the top does get a bit messy, you can always hide it with a beautiful layer of whipped cream or fresh fruit before serving.

Recipe FAQs
Can I use low-fat cream cheese instead of full fat blocks?
No, stick with full fat blocks. low-fat versions contain too much water and will result in a soupy, unstable filling that will never set correctly.
How long must this cake chill before serving?
Chill for a minimum of six hours. For the absolute best structural integrity and flavor melding, chilling overnight is highly recommended.
How to achieve a clean slice presentation?
Dip a long, thin knife into hot water and wipe dry before each cut. This technique ensures the creamy filling does not smear onto the dark biscuit base, giving you sharp, professional edges.
Is it true that this cake requires gelatin for setting?
No, this is a common misconception. The set relies entirely on the chemical reaction between the acid in the lemon juice and the proteins in the cream cheese and condensed milk.
How do I make the biscuit base crispier?
Bake the pressed base at 180°C for 10 minutes before cooling. This toasting step drives off excess moisture from the melted butter, creating a more shatteringly crisp foundation, similar to the firm base needed for our Crack Burger with recipe base preparation.
What is the best way to incorporate the whipped cream?
Fold gently using a large spatula in thirds. Lighten the cream cheese mixture with the first third, then carefully fold in the remaining two thirds using a slow cut-and-fold motion to avoid deflating the incorporated air.
Can I substitute the butter in the crust with oil?
No, substitution with oil will compromise the structure. Butter is essential because it solidifies firmly when chilled, binding the crumbs tightly, whereas oil remains liquid and will result in a greasy, loose crust.
Biscuit Cream Cheese Cake

Ingredients:
Instructions:
Nutrition Facts:
| Calories | 485 kcal |
|---|---|
| Protein | 7.0 g |
| Fat | 36.3 g |
| Carbs | 34.3 g |
| Fiber | 0.7 g |
| Sugar | 26.2 g |
| Sodium | 279 mg |
