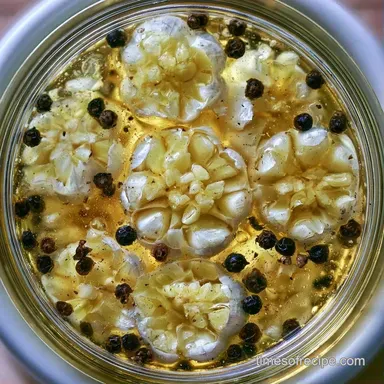
Quick Pickling Brine in 20 Minutes
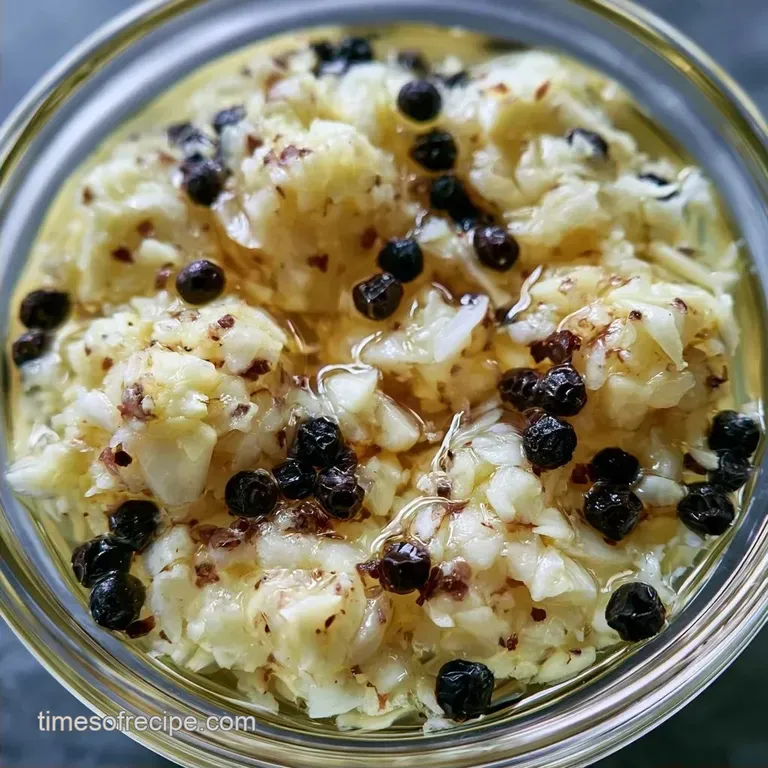
- Time: 10 min active + 24 hours chilling
- Flavor/Texture Hook: Tangy, sharp, and stays crunchy
- Perfect for: Meal prep, taco nights, or budget-friendly condiments
Ever bought those "premium" jarred pickles only to find the cucumbers are limp? It's frustrating to pay a premium for vegetables that have the texture of wet cardboard. Usually, this happens because the brine is too aggressive or the processing was too slow, killing the cellular structure of the plant.
I used to just buy the store brand and hope for the best, but making your own is actually cheaper. You only need a few pantry staples to get that sharp, bright snap that makes a sandwich actually taste like something.
This Quick Pickling Brine is designed for speed and efficiency. It doesn't require fancy canning equipment, just a pot and a jar. You'll get a crisp result that works for red onions, carrots, or radishes.
Quick Pickling Brine Specs
Getting the ratio right is the only thing that really matters here. If you use too much vinegar, the veg tastes like chemicals. Too much water, and they spoil. This version hits the middle ground.
Right then, let's look at the numbers.
| Goal | Exact Change |
|---|---|
| Extra Tang? | Add 1 tbsp extra vinegar |
| Milder Taste? | Increase water by 1/4 cup |
| More Heat? | Double the chili flakes |
How the Balance Works
The 1:1 Ratio: Equal parts vinegar and water keeps the acidity high enough to preserve the food but low enough to prevent the vegetables from turning mushy.
Heat Dissolution: Warming the liquid ensures the salt and sugar dissolve fully, so you don't end up with gritty crystals at the bottom of your jar.
Aromatic Blooming: Heating the spices for a few minutes releases the oils, which spreads the flavor more evenly through the liquid.
| Method | Time | Texture | Best For |
|---|---|---|---|
| Stovetop (Hot) | 10 mins | Very Crisp | Hard veg (carrots, cauliflower) |
| Cold Mix | 5 mins | Softer | Soft veg (cucumber, berries) |
What You'll Need
This list is minimal; you probably already have most of these staples in your pantry.
| Ingredient | Purpose | Alternative |
|---|---|---|
| White Vinegar | Adds the necessary acid | Apple Cider Vinegar (milder) |
| Kosher Salt | Pulls out excess moisture | Pickling Salt |
| Granulated Sugar | Softens the acidic bite | Maple syrup or honey |
| Garlic Cloves | Contributes savory richness | Garlic powder (1 tsp) |
The Full List:
- 2 cups white vinegarWhy this? Its sharp, clean acidity avoids discoloring the vegetables
- 2 cups waterWhy this? It tempers the acid to maintain a crisp texture
- 3 tbsp kosher saltWhy this? Lacks iodine, ensuring the brine remains transparent
- 2 tbsp granulated sugarWhy this? Tones down the intensity of the vinegar
- 4 cloves garlic, smashed
- 1 tbsp whole black peppercorns
- 1 tsp mustard seeds
- 2 leaves dried bay leaves
- 1 tsp red chili flakes
To further utilize your vinegar supply, try this Chow Chow Relish recipe to keep your summer harvest fresh.
Necessary Kitchen Tools
No specialized equipment is required here. A standard stainless steel saucepan is recommended, as vinegar can react with cast iron or aluminum, creating a metallic flavor in your Quick Pickling Brine.
Glass Mason jars with tight sealing lids are the best choice. Plastic containers may absorb the vinegar scent, and the acidity can potentially damage the material over time.
A basic whisk is all you need to combine the salt and sugar. There is no need for a blender or any high tech tools.
Step-by-step Instructions
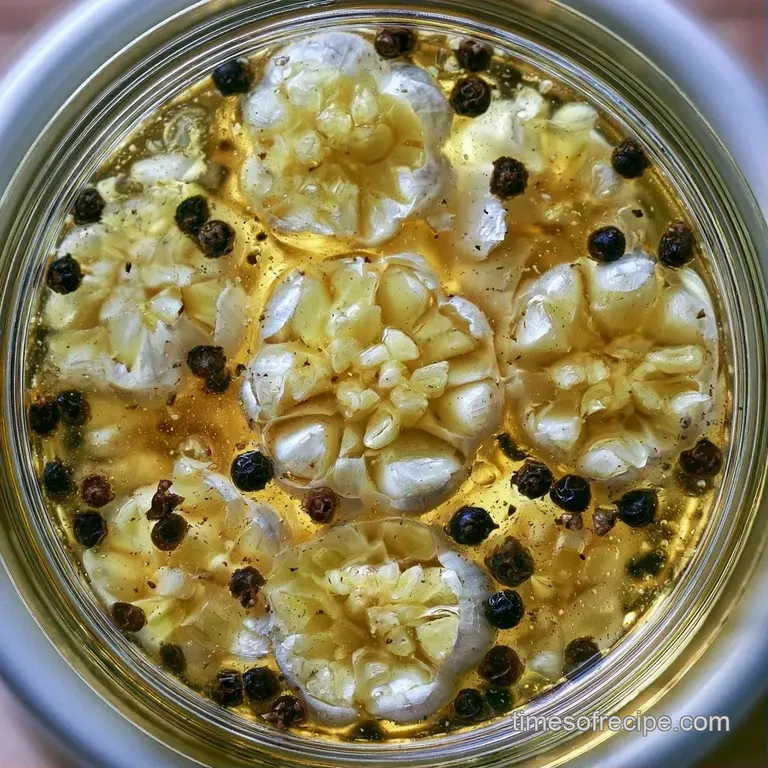
- Combine the white vinegar, water, kosher salt, and sugar in a small stainless steel saucepan.
- Place the saucepan over medium heat and whisk constantly until the liquid reaches a simmer and the salt and sugar have completely dissolved, resulting in a clear consistency.
- Stir in the smashed garlic, peppercorns, mustard seeds, bay leaves, and chili flakes.
- Reduce heat to low and let the mixture steep for 2-3 minutes to release the essential oils from the spices.
- Remove the pot from heat.
- Carefully pour the hot Quick Pickling Brine over prepared vegetables in glass Mason jars. Note: Make sure the produce is fully submerged to prevent spoilage.
- Seal the lids tightly.
- Let sit at room temperature until the glass is cool to the touch.
- Transfer to the refrigerator for 24 hours.
Trust me on this: don't open the jar early. The flavors need that full day to penetrate the vegetables.
What Can Go Wrong
The most common issue is cloudiness. If your liquid looks milky, it's usually because you used table salt. Table salt has anti caking agents that don't dissolve the same way as kosher salt. It's still safe to eat, but it looks less professional.
Then there's the "mush" factor. If your vegetables are soft, you might have left them at room temperature too long before refrigerating. The heat "cooks" the vegetable; the fridge stops that process.
Finally, some people find the taste too aggressive. This usually happens if the water to vinegar ratio was off. You can't really "fix" a finished jar, but you can dilute the next batch.
| Problem | Root Cause | Solution |
|---|---|---|
| Cloudy Brine | Used table salt with additives | Switch to Kosher or pickling salt |
| Soft Vegetables | Brine stayed hot too long | Cool jars faster or refrigerate sooner |
| Too Sour | Too much vinegar in ratio | Add a pinch more sugar to the jar |
Customizing Your Brine
You can easily tweak this Quick Pickling Brine to fit different cuisines. For a Mexican style pickle, swap the bay leaves for a slice of fresh habanero and add a pinch of cumin.
For something more like a European style, replace the white vinegar with apple cider vinegar. It gives a fruitier, softer note. This is actually quite similar to how the acidity is balanced in Meatballs with Creamy Sauce recipe, where a touch of acid cuts through the richness.
Quick Adjustments:
- Sweet Heat: Increase sugar to 3 tbsp and add extra chili.
- Low Sodium: Reduce salt to 1.5 tbsp. Note: This reduces shelf life in the fridge.
- Keto Friendly: Replace sugar with a 1:1 monk fruit sweetener.
Preservation Guidelines
Store your finished jars in the refrigerator. They will stay crisp and safe for up to 3 weeks. Don't keep them on the counter; this is a refrigerator brine, not a canned product, so it lacks the pressure sealing needed for room temperature storage.
For zero waste, don't toss the leftover liquid. This Quick Pickling Brine is a great marinade for chicken or a way to brine tofu before frying. You can even splash a bit into a potato salad to give it more zip.
If you have leftover vegetable scraps like carrot peels or celery ends, you can toss them into a fresh batch of brine for a "scrap pickle" that's great for snacking while you cook.
Perfect Complements
These pickles are perfect for balancing rich, fatty foods. They're a great addition to burgers, pulled pork, or an elaborate charcuterie platter. The acidity refreshes the palate, ensuring every mouthful of the main dish tastes fresh.
Try serving these with a creamy spread or dip. The interplay between the sharp brine and a rich base is what makes this pairing so effective.
Because these are so economical, I typically prepare a large batch at the start of the month. It's far cheaper than purchasing specialty jars and the quality is consistently superior.
Clearing Up Brine Myths
Some believe that boiling the brine for a long time makes it "strong." This is a misconception. You only need to simmer it long enough to dissolve the solids. Over boiling simply evaporates the water, which ruins the ratio and makes the brine too salty.
Another common myth is that you must use sterilized jars for refrigerator pickles. While hygiene is important, the boiling water bath used in traditional canning isn't necessary. A clean jar and a cold fridge are sufficient to keep these safe for several weeks.
According to Serious Eats, the acidity of the vinegar is the primary element that prevents spoilage in quick pickles, as long as they stay chilled.
Recipe FAQs
How to make a quick pickle brine?
Combine white vinegar, water, kosher salt, and sugar in a saucepan. Simmer over medium heat until dissolved, then steep spices for 2-3 minutes before pouring over vegetables.
Is it true you can pickle vegetables with just vinegar?
Surprisingly, no. Water is necessary to dilute the acidity so the vegetables don't become overly harsh or mushy.
Do homemade vinegar pickles need refrigeration?
Yes, these must stay chilled. Because they aren't processed in a water bath, the refrigerator prevents spoilage and keeps them crisp. These pair great with a rich spread like whipped butter on a crusty baguette.
Can you reuse refrigerator pickle brine?
You can reuse the liquid once for a fresh batch of vegetables. The flavor will be milder the second time, though the salt and acid levels remain effective.
Which brine options work best for diabetics?
Reduce or omit the granulated sugar to keep glucose levels low. This creates a sharper, more savory flavor profile that still preserves the produce.
What steps are needed for home pickled cucumbers?
Pack sliced cucumbers into glass Mason jars. Pour the hot brine over them and let them cool at room temperature before chilling for 24 hours.
Could store-bought juice be used to make more pickles?
Not true. Commercial juices often contain preservatives and different salt ratios that won't preserve home vegetables as effectively as a fresh simmered brine.
Universal Quick Pickling Brine