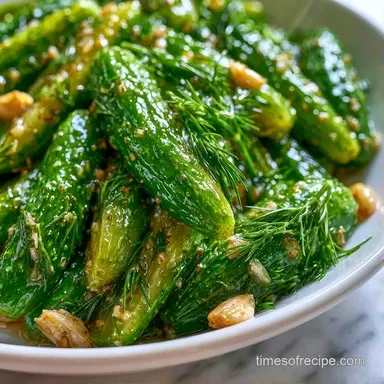
No Cook Pickle Brine: Tangy and Crunchy
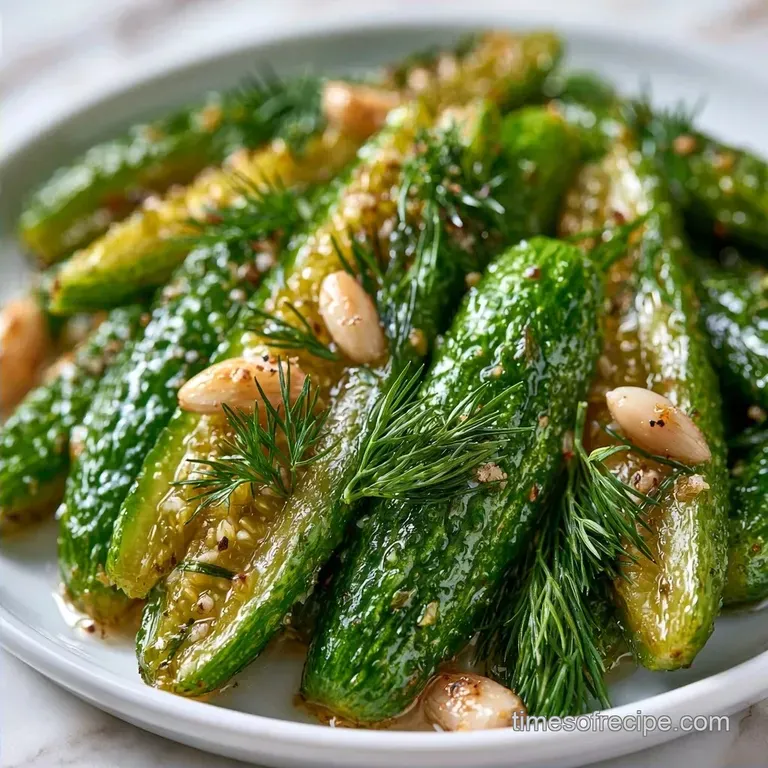
- Time: 15 min active + 12 hours chilling
- Flavor/Texture Hook: Tangy, bright, and seriously crunchy
- Perfect for: Quick meal prep, sandwich toppers, or beginner picklers
That loud, satisfying snap when you bite into a deli pickle is something you usually don't get with home-made quick pickles. Most people think you have to boil the liquid to make it "set" or preserve the veg. That's a myth.
Boiling actually cooks the cucumber, which is exactly why so many home recipes end up with soggy, limp slices.
I used to spend way too much time hovering over a pot, waiting for vinegar to simmer, only to find my pickles had the texture of a wet noodle. Once I switched to a cold process method, everything changed. You don't need a stove to get that professional crunch.
This No Cook Pickle Brine is all about efficiency. We're using the cold to our advantage, allowing the brine to penetrate the cucumbers slowly while they stay chilled. It's a straightforward process that gives you a clean, acidic finish and a texture that actually holds up.
Simple No Cook Pickle Brine
The trick here is avoiding the heat. When you pour boiling liquid over a cucumber, you break down the pectin, which is the "glue" that keeps the cell walls rigid. By keeping everything cold, that structure stays intact.
- Cold Brining
- Skipping the boil ensures the cucumbers stay firm and snappy.
- Salt Balance
- The salt draws out excess water from the vegetable, making room for the vinegar to soak in.
- Steep Time
- Letting the jars sit for 12 hours allows the aromatics to migrate from the bottom of the jar into the center of the slices.
Recipe Specs
This is a high efficiency project. You spend a few minutes prepping and then you just walk away.
| Goal | What to change |
|---|---|
| Extra Tang | Increase vinegar by 2 tbsp |
| Milder Taste | Add 1 cup extra water |
| More Heat | Add 1 tsp extra red pepper flakes |
Since this isn't a canned product, it stays in the fridge. It's essentially a marinated vegetable, so you aren't fighting the clock as much as you would with traditional canning.
What Each Ingredient Does
Not all salts and vinegars are the same. For a No Cook Pickle Brine, you want things that dissolve easily without leaving a cloudy residue.
| Ingredient | Role | If You Don't Have It |
|---|---|---|
| Distilled White Vinegar | Provides the acidity and preservative base | Apple cider vinegar (adds a fruitier note) |
| Pickling Salt | Draws out water without adding iodine clouds | Kosher salt (might make brine slightly cloudy) |
| Fresh Dill | Adds that classic "deli" herbal aroma | Dried dill weed (use 1 tbsp instead of sprigs) |
| Garlic Cloves | Adds a pungent, savory depth | Garlic powder (1 tsp, though less punchy) |
Tools You'll Need
This recipe is simple enough for any home setup. You only need a few standard tools to get started.
- 2 or 3 clean Mason jars (quart size works best)
- A mixing bowl or a large shaker jar with a lid
- A whisk or a fork
- A sharp chef's knife and cutting board
- A measuring cup and spoons
Chef Note: If your tap water is heavily chlorinated or "hard," opt for filtered water. This ensures the flavor of the No Cook Pickle Brine stays clean and bright.
Simple step-by-step Process
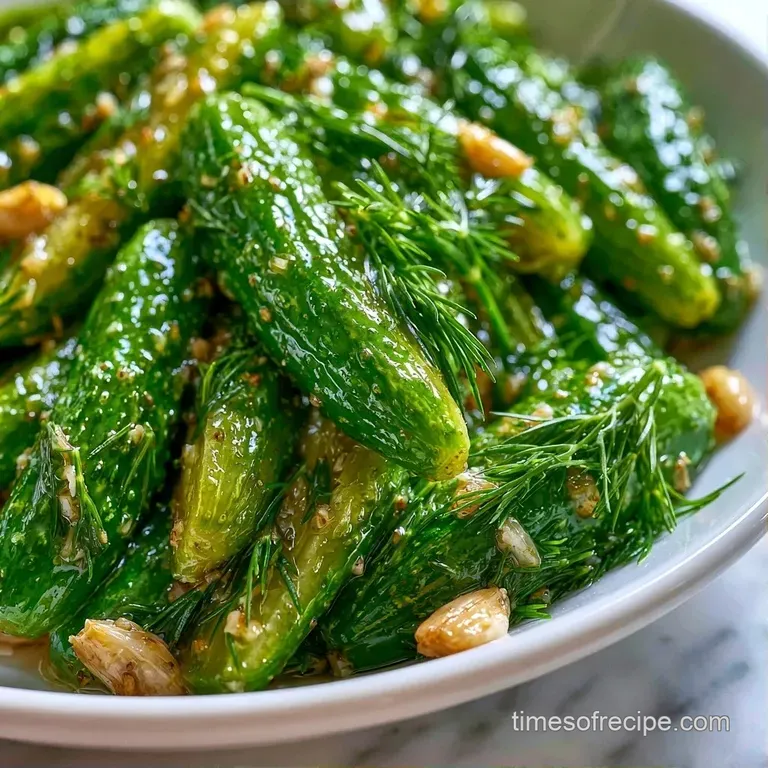
Follow these steps to ensure the flavors are well balanced and the vegetables are densely packed.
Phase 1: Preparing the Flavor Pack
Place the crushed garlic, fresh dill, peppercorns, and red pepper flakes at the bottom of every clean Mason jar. Note: Crushing the garlic helps release the oils more quickly.
Phase 2: Mixing the Brine
In a shaker jar or mixing bowl, combine the white vinegar, filtered water, salt, and sugar.
Phase 3: Dissolving the Solids
Whisk for 60 seconds or shake vigorously until the salt and sugar crystals are fully dissolved. Verify that the liquid is transparent and no grains are left at the bottom.
Phase 4: Packing the Veg
Firmly pack the sliced cucumbers into the jars, pressing them down around the flavor pack to eliminate air pockets.
Phase 5: Adding the Liquid
Pour the No Cook Pickle Brine over the cucumbers until they are fully submerged.
Phase 6: The Final Seal
Tighten the lids and give the jars a light shake to distribute the spices.
Phase 7: The Cold Steep
Store them in the refrigerator to infuse for at least 12 hours. For the best flavor, wait until the following day.
Fixing Common Brine Issues
Even a simple recipe can hit a snag. Usually, it comes down to the quality of the produce or the mixing technique.
If your pickles come out soft, it's usually because the cucumbers were already starting to age before they hit the jar. Always buy the firmest cucumbers you can find. If the brine looks cloudy, you probably used table salt with iodine. It doesn't affect the taste, but it ruins the look.
Another issue is the "floating" problem. If your cucumbers float to the top, they'll get soft where they touch the air. Just give the jar a little shake every few hours on the first day to keep them submerged.
| Problem | Root Cause | Solution |
|---|---|---|
| Soft Texture | Old produce or air gaps | Use chilled, fresh veg and pack tightly |
| Grainy Brine | Incomplete mixing | Whisk for a full 60 seconds |
| Cloudy Liquid | Iodized salt usage | Switch to pickling or Kosher salt |
Ways to Customize
After mastering the basic No Cook Pickle Brine, you can easily adjust the flavors to complement whatever you're serving.
To give it some heat, use twice the amount of red pepper flakes and tuck a sliced jalapeño into every jar. For a taste reminiscent of bread and butter pickles, bump the sugar up to 3 tablespoons and include a pinch of mustard seed.
If you want more zesty preserves in your pantry, this process is quite like making a Southern Chow Chow, although that recipe typically requires more dicing and a different assortment of vegetables.
Lowering the Sodium
You can cut the salt content in half, but remember that salt is key to that signature crunch. Reducing it too much might cause the pickles to soften more quickly.
A Garlic Forward Option
For an intense garlic flavor, try slicing the cloves thinly instead of smashing them. This ensures the garlic is spread more consistently through the No Cook Pickle Brine.
Adjusting the Batch Size
Making a double or half batch is easy, but don't just multiply everything blindly.
When scaling up to 2x or 4x, keep your liquids exact, but only increase your spices and salt to about 1.5x. Aromatics like garlic and red pepper flakes can become overwhelming if you just double them. Work in batches of two jars at a time to make sure you're packing them tightly enough.
If you're scaling down for a single small jar, beat one egg if the recipe ever calls for a binder (not here, but a good rule for baking) and use half. For this brine, just divide the measurements by three and use a pint jar instead of a quart.
Storage and Scraps
Since we aren't using a heat seal canning method, these must stay cold.
Keep your jars in the fridge for up to 4 weeks. After that, they'll still be safe to eat, but the crunch will start to fade. Do not freeze these; the water in the cucumbers will expand and turn them into mush.
Don't toss the leftover No Cook Pickle Brine after you've finished the cucumbers. It's basically a seasoned vinegar. You can use it as a marinade for grilled chicken or drizzle it over a salad. Some people even use the leftover liquid to brine hard boiled eggs for a quick snack.
Best Serving Ideas
These pickles provide a zesty counterpoint to rich, decadent dishes, helping to cut through fat and refresh your palate.
They pair perfectly with a deli style smoked turkey and Swiss sandwich. I also love serving them alongside a hearty chili to add a tangy snap to the deep, savory flavors.
If you're assembling a platter, combine them with spicy salami, sharp cheddar, and some crusty sourdough. The acidity of the No Cook Pickle Brine makes every other flavor more vivid. You'll find that skipping the boiling step is a total game changer.
Recipe FAQs
Is it true that pickle brine must be boiled to be safe?
Surprisingly, no. Cold processed brine works for refrigerator pickles as long as they stay chilled.
Tip: Use filtered water to prevent mineral clouds from forming in the jar.
Can I use just vinegar for the brine?
You can, but the result is often too acidic and harsh on the palate.
Tip: Stick to the 1:1 ratio of water and vinegar for a balanced flavor.
What exactly is the 321 rule for pickling?
It is a simplified ratio using three parts vinegar, two parts water, and one part salt.
Tip: This recipe uses a different ratio to better suit a no-cook method.
Could the leftover brine be reused?
Yes, the liquid works great as a marinade or salad dressing.
Tip: If you enjoyed balancing the salt and sugar here, see how we balance bold flavors in our homemade meat sauce.
Must homemade vinegar pickles stay in the fridge?
Yes, because there is no heat sealing process to make them shelf stable.
Tip: Keep them in the coldest part of the refrigerator to maintain crunch.
How do I make these pickled cucumbers?
Whisk vinegar, water, salt, and sugar until dissolved before pouring over cucumbers and aromatics.
Tip: Pack the cucumbers as tightly as possible to prevent them from floating.
Does store-bought pickle juice work as a replacement for homemade brine?
This one's false: commercial juices often lack the fresh aromatic punch of a home brine.
Tip: Always use fresh dill and smashed garlic for the best depth of flavor.
No Cook Pickle Brine