Homemade Pickle Brine in 10 Minutes
- Time: 5 min active + 5 min cook (Total 20 mins)
- Flavor/Texture Hook: Sharp, tangy snap with a clean finish
- Perfect for: Quick meal prep or fresh summer sides
That satisfying pop of a Mason jar lid is the best part of the process. I used to think you needed a cellar and a month of patience to get a real pickle. I spent way too much time trying to ferment things in my apartment, often ending up with cloudy liquids and soft, sad cucumbers.
Forget the idea that fermentation is the only way to get a deep flavor. A hot pour method is faster and gives you a consistent result every time. You don't need a chemistry degree or expensive equipment to make a high-quality Vinegar and Salt Pickle Brine.
This approach focuses on efficiency. We're using heat to dissolve solids quickly and acidity to lock in the crunch. You'll get a bright, sharp taste that hits the palate immediately.
Simple Homemade Pickle Brine
| Method | Time | Texture | Best For |
|---|---|---|---|
| Quick Brine | 20 mins | Crisp snap | Salads, burgers |
| Traditional | 2 weeks | Sour funk | Deli style jars |
How the Brine Works
The Salt Pull: Salt draws water out of the vegetable cells through osmosis. This makes room for the vinegar to move in and flavor the produce from the inside.
Acid Stability: The distilled white vinegar keeps the pH level low. This prevents spoilage and keeps the vegetables from getting mushy during the first few days in the fridge.
The Right Ingredients
Most people overcomplicate the base. All you really need is a balanced ratio of water and acid. I use filtered water because minerals in tap water can sometimes make a Salt Pickle Brine look cloudy.
Kosher salt is the move here. Table salt has anti caking agents that can mess with the clarity of your liquid. Sugar isn't there to make it a dessert, but to balance the sharp hit of the vinegar so it doesn't taste like straight cleaning fluid.
Ingredients and Subs
- 2 cups distilled white vinegar Why this? High acidity for a clean, sharp snap (Sub: Apple cider vinegar for a mellower, fruitier tone)
- 2 cups filtered water Why this? Prevents cloudy brine from minerals (Sub: Distilled water)
- 1/4 cup kosher salt Why this? Pure salt without additives (Sub: Sea salt, but reduce by 1 tbsp)
- 2 tbsp granulated sugar Why this? Balances the acidity (Sub: Honey or maple syrup)
- 4 cloves garlic, smashed Why this? Pungent depth (Sub: Garlic powder, 1 tsp)
- 2 tbsp fresh dill heads Why this? Classic herbal profile (Sub: Dried dill, 1 tbsp)
- 1 tsp black peppercorns Why this? Subtle woody heat (Sub: White peppercorns)
- 1 tsp coriander seeds Why this? Citrusy undertones (Sub: Mustard seeds)
Essential Tool List
You don't need a professional setup. A medium saucepan and a whisk are the main requirements. I prefer using glass Mason jars because they don't react with the acid. If you have a digital thermometer, it's helpful, but not mandatory. Just look for the gentle simmer.
Bringing It Together
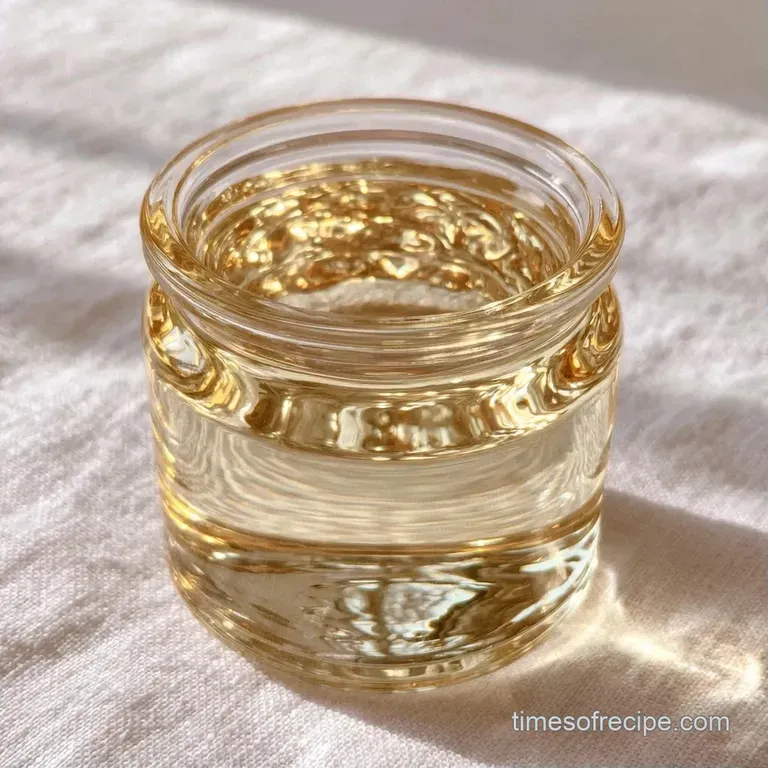
- Combine the distilled white vinegar, filtered water, kosher salt, and sugar in a medium saucepan. Note: Use a whisk to ensure there are no salt clumps.
- Place the pan over medium heat.
- Stir the liquid continuously until it reaches a gentle simmer.
- Keep stirring until the salt and sugar have completely dissolved and the liquid is crystal clear.
- Remove the pan from heat immediately to prevent the vinegar from evaporating too much.
- Let the Pickle Brine cool for 5-10 minutes. Note: This prevents the hot liquid from overcooking the vegetables and making them soft.
- Pack your smashed garlic, dill, peppercorns, and coriander into clean glass jars.
- Pour the hot liquid over the vegetables until they are completely submerged.
- Seal the lids tightly and let the jars sit on the counter until they reach room temperature.
- Move the jars to the refrigerator for at least 24 hours before eating.
Pitfalls and Fixes
If your liquid looks like milk, you've likely got a mineral issue. Using filtered water usually stops this. Another common problem is the "soft crunch," where the veg feels more like a cooked carrot than a pickle.
This usually happens if the brine was boiling rather than simmering, or if you didn't let it cool slightly before pouring.
To get a better snap, try adding a grape leaf or a tea bag to the jar. The tannins in those leaves help keep the cell walls of the cucumber rigid.
Fixing Cloudy Brine
Check your water source. If you used tap water, the minerals are reacting with the acid. Next time, use distilled water.
Stopping Mushy Veggies
Check your heat. If the liquid was at a rolling boil, it may have scorched the produce. Keep it at a gentle simmer.
Balancing Harsh Acidity
If the taste is too sharp, you can add a pinch more sugar to the next batch or let the jars sit longer in the fridge.
| Problem | Root Cause | Solution |
|---|---|---|
| Cloudy Liquid | Tap water minerals | Use distilled or filtered water |
| Soft Texture | Overheating / Boiling | Maintain a gentle simmer |
| Too Sour | Low sugar ratio | Increase sugar by 1 tsp |
Customizing Your Flavor
You can easily tweak this and Salt Pickle Brine to fit your mood. For a spicy kick, toss in a sliced habanero or a teaspoon of red pepper flakes. If you want something a bit more complex, try a no cook version for a different flavor profile.
For a sweeter, "bread and butter" vibe, double the sugar and add sliced onions to the jar. If you're looking for something even faster, check out this 15 minute brine for small batches.
Quick Decision Shortcut:
- More heat? → add 1 tsp red pepper flakes
- Sweeter taste? → add 1 tbsp brown sugar
- Extra crunch? → add one grape leaf
Storage and Waste
Keep this Pickle Brine in the refrigerator. It stays fresh for about 4 to 6 weeks. Do not store these at room temperature since they aren't canned in a pressure cooker.
Don't toss the liquid once the vegetables are gone. This leftover and Salt Pickle Brine is a fantastic marinade for grilled chicken or a splash in a Bloody Mary. You can also use it to quick pickle sliced red onions for tacos.
Serving Your Pickles
These are great straight out of the jar, but they shine when paired with fatty foods. The acidity cuts right through a rich burger or a plate of fried chicken. I like to slice them into thin coins for sandwiches to add a bright, vinegary contrast.
For a party platter, mix your pickles with some pickled cauliflower and carrots. Use the same Pickle Brine for both to keep the flavor consistent across the board.
How Pickle Brine Works
The efficiency of this recipe comes down to temperature and concentration. By heating the liquid, we force the salt and sugar into a complete solution, which means they penetrate the vegetables faster than a cold soak would.
The 50/50 ratio of water to vinegar ensures the pH is low enough to inhibit bacteria while remaining palatable. This creates a stable environment where the flavors can meld without the vegetables breaking down.
High in Sodium
921 mg 921 mg of sodium per serving (40% 40% of daily value)
The American Heart Association recommends a daily limit of no more than 2,300 mg of sodium to maintain heart health.
Tips to Reduce Sodium
-
Reduce Kosher Salt-25%
Cut the kosher salt amount in half; since this is a brine, reducing the salt directly provides the most significant sodium drop.
-
Use Salt Substitutes-20%
Replace a portion of the salt with a potassium based salt substitute to maintain a salty taste with less sodium.
-
Increase Acidity-10%
Add a small amount of lemon juice or apple cider vinegar to enhance the 'tang' and compensate for the reduction in salt.
-
Add Aromatic Spices
Add peppercorns, mustard seeds, or garlic cloves to the mixture to provide flavor depth without adding any sodium.
Recipe FAQs
Do homemade vinegar pickles need to be kept in the fridge?
Yes, these must stay refrigerated because they aren't pressure canned. They will stay fresh for about 4 to 6 weeks.
Is it true that eating pickles can cure scurvy?
That's a myth. While some vegetables contain vitamins, the pickling process doesn't provide enough Vitamin C to treat the condition.
Can I reuse brine from refrigerator pickles?
Yes, you can use the leftover liquid as a marinade for grilled chicken. If you enjoy this flavor profile, try our salt and vinegar juice for more versatility.
How do I make pickled cucumbers at home?
Combine distilled white vinegar, filtered water, kosher salt, and sugar in a saucepan. Simmer the mixture until clear, let it cool slightly, and pour it over cucumbers in glass jars.
Could you pickle using only vinegar without water?
No, this is a common misconception. Adding water balances the acidity so the vinegar doesn't overpower the flavor of the vegetables.
Homemade Pickle Brine 2